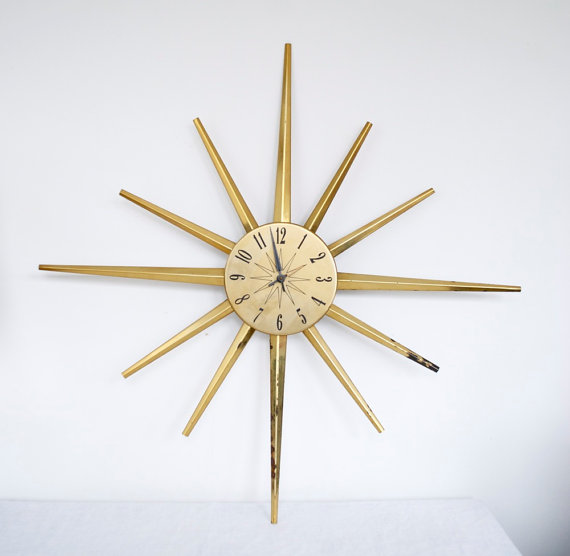
A few weekends ago, I went garage salin' with my mom. It was like old times-- digging through boxes, commenting on old hippie things from the 60s and 70s. I found quite a few vintage clothing pieces which I feel are harder and harder to find since vintage fashion has hugely come back in style. At one sale, I happened upon a 1960s dress suit for $3 (what a steal!). As I walked up to the lady, I noticed a jagged pointy-looking piece of hardware. I uncovered it from beneath some rubbish and realized it was an old mid century modern clock (like the one pictured above)....with a tag marked FREE! The lady's husband commented that it was mine if I could get it to work. That was just the challenge I needed.
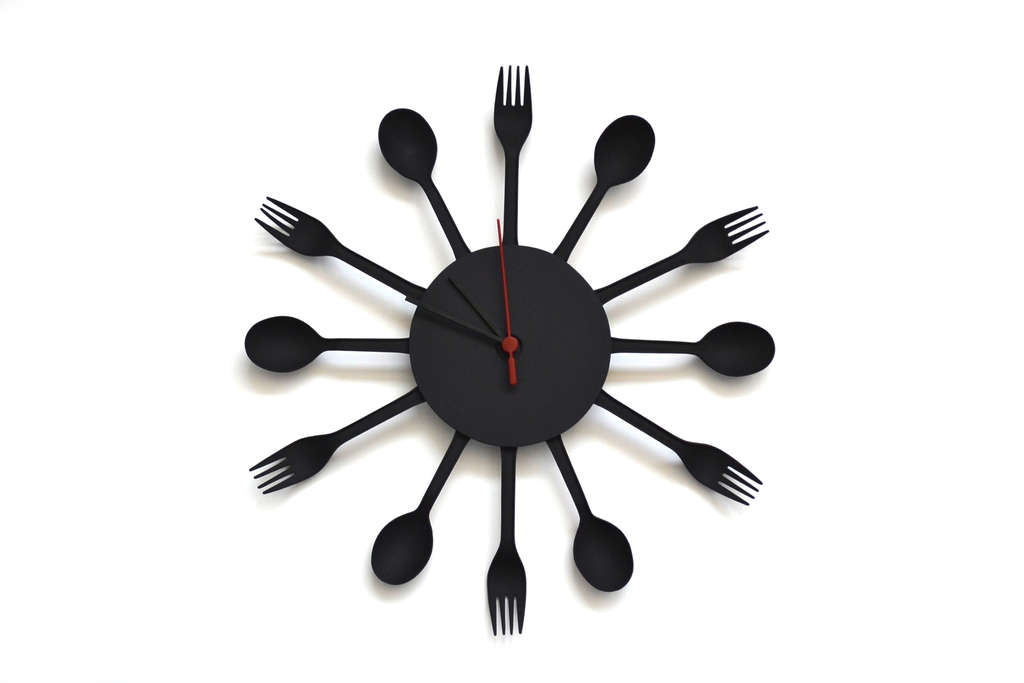
I took the dress suit & clock home with me...but then I realized something: I've never fixed or rebuilt a clock in my life! So I did some research and found just what I needed. Only this DIY clock is made using recycled plastic flatware. That's right--courtesy of Samuel Bernier at Instructables.com, for just around $15, you could build this clock tonight.
PLASTIC FLATWARE CLOCK

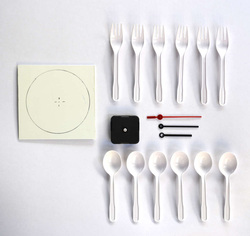
Materials:
- 6 cleaned forks
- 6 cleaned soup spoons
- Polystyrene sheet less than 5 mm of thickness
- A clock mechanism (you can find these at walmart or your local hardware store for around $7)
- Gorilla or Super glue
- Spray paint
Directions:
1. Clean your forks & spoons.
2. Trace a circle onto the polystyrene (you could simply trace around the mouth of a large drinking glass). Samuel recommends a diameter of 12 cm. Use a cutter or scissors to cut the circle out.
3. Make a 1/4" hole in the center of the circle (you may have to use a drill for this).
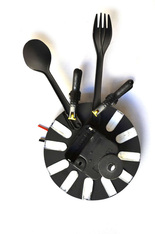
4. Grab your gorilla or super glue and begin gluing the forks & spoons in alternating pattern around the circle. You may want to use a ruler to measure for even placement. (Don't want your 3 o'clock turning into a 3:30!)
5. Let the glue set and dry. Once dry, you may spray paint the entire clock using an color desired.

6. Install the clock mechanism--follow the directions in the mechanisms' packaging for installing the hands, battery and for setting the time.
7. You may want to add a ring or hook to the back so you can easily hang your clock.
8. And that's it! These clocks would make excellent gifts and they look especially chic in a kitchen or dining room! Plus it is a sustainable/upcycled piece that you can be proud of.
7. You may want to add a ring or hook to the back so you can easily hang your clock.
8. And that's it! These clocks would make excellent gifts and they look especially chic in a kitchen or dining room! Plus it is a sustainable/upcycled piece that you can be proud of.


 RSS Feed


